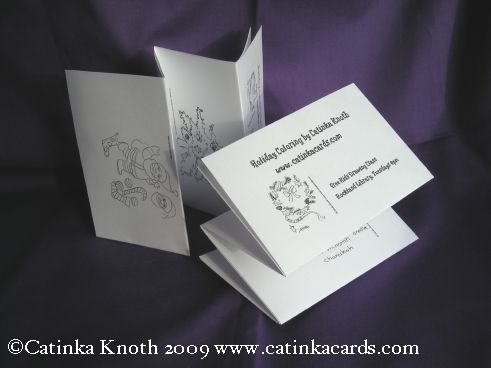
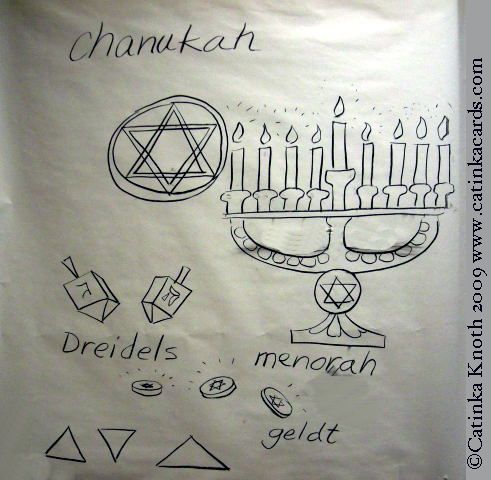
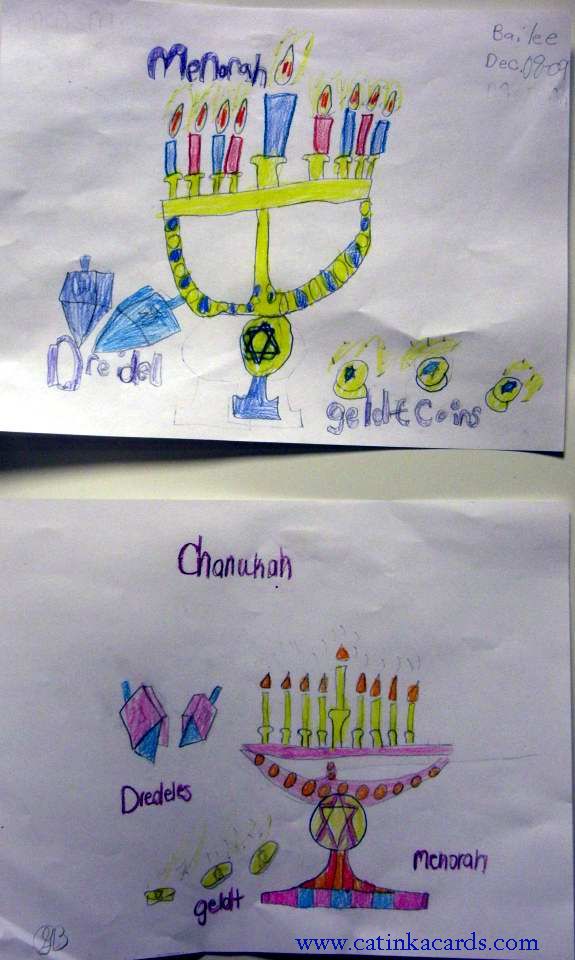
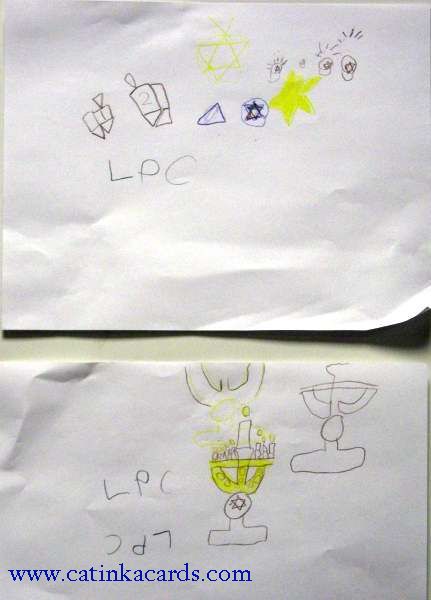
Topic: Seasonal/Holiday
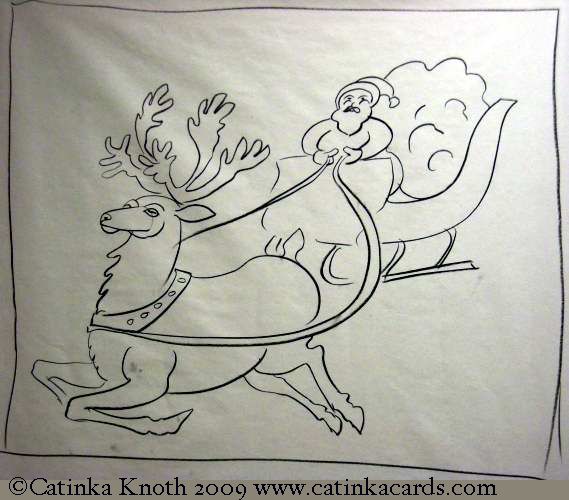
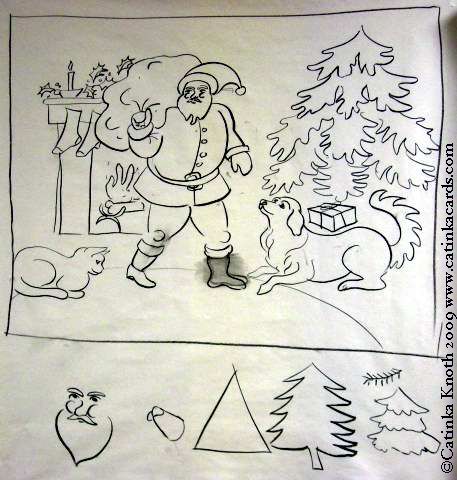
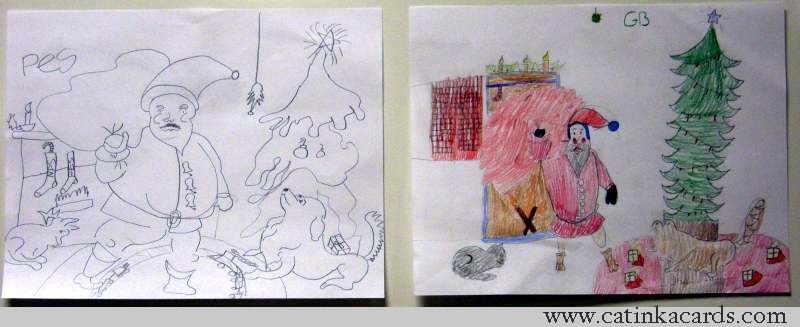
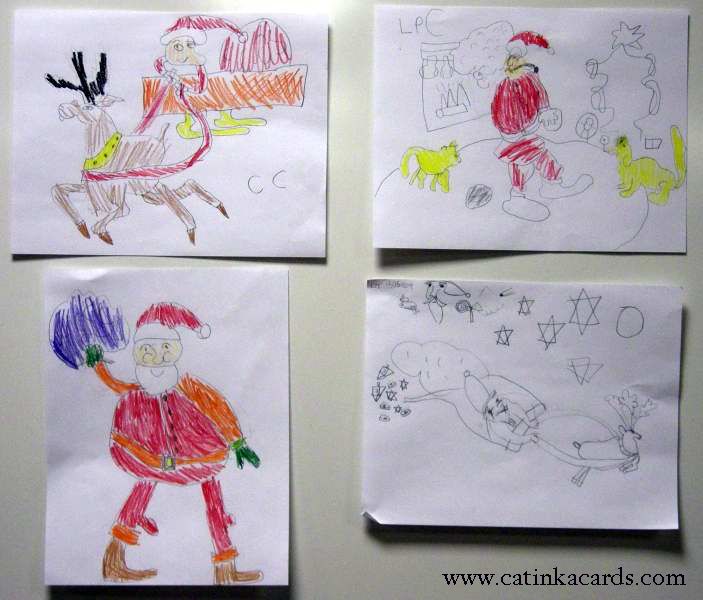
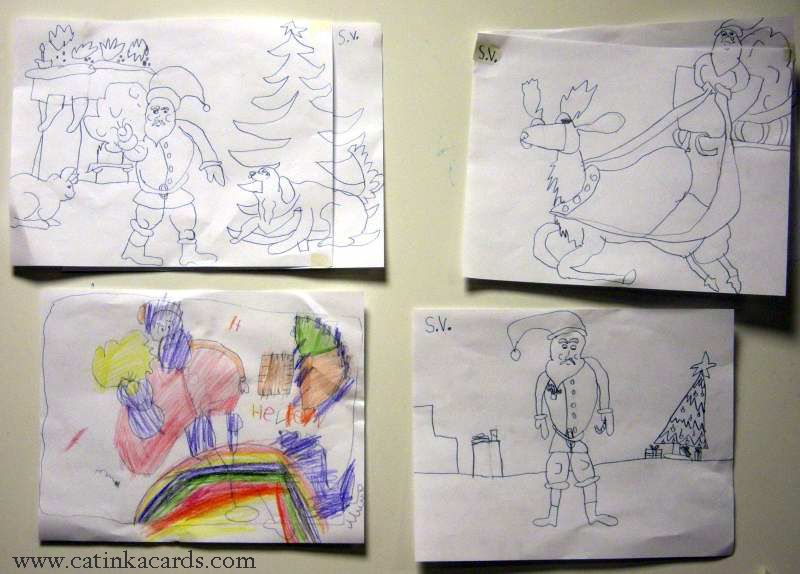
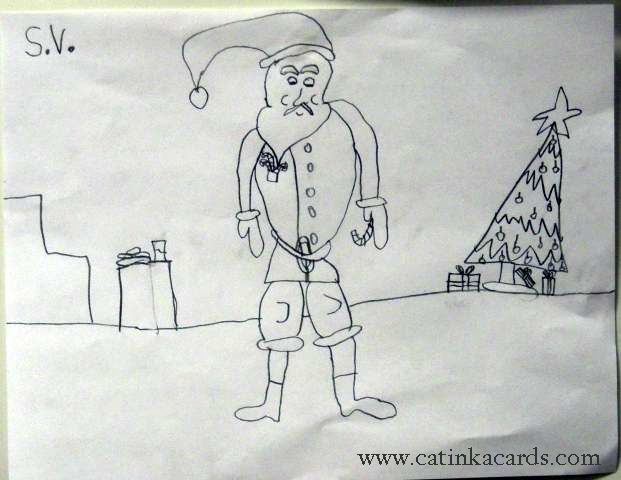
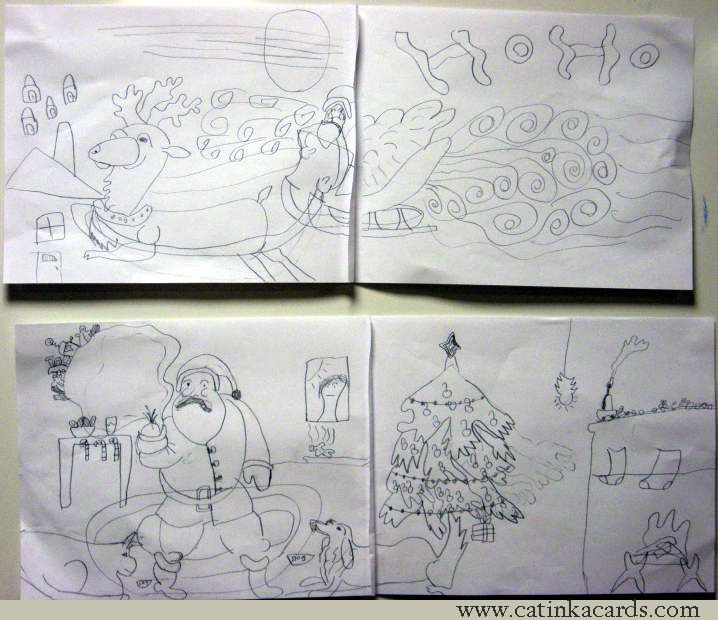
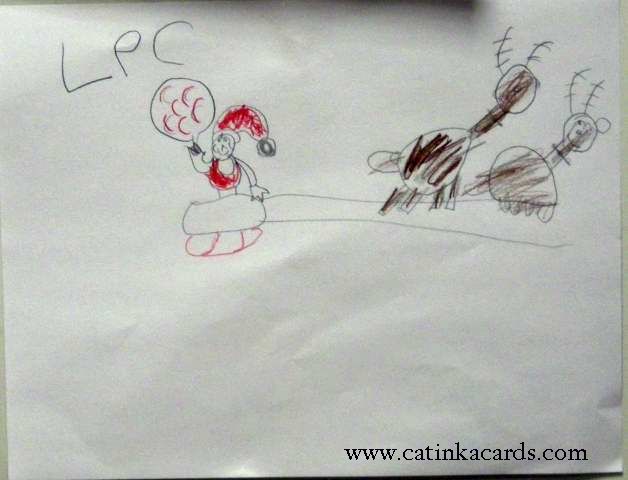
Santa having just stepped out of the chimney into the livingroom, and a reindeer with Santa in his sleigh - my demonstration drawings and the kids drawings.
Posted by Catinka Knoth
at 1:58 AM EST
| « | December 2009 | » | ||||
| S | M | T | W | T | F | S |
| 1 | 2 | 3 | 4 | 5 | ||
| 6 | 7 | 8 | 9 | 10 | 11 | 12 |
| 13 | 14 | 15 | 16 | 17 | 18 | 19 |
| 20 | 21 | 22 | 23 | 24 | 25 | 26 |
| 27 | 28 | 29 | 30 | 31 | ||

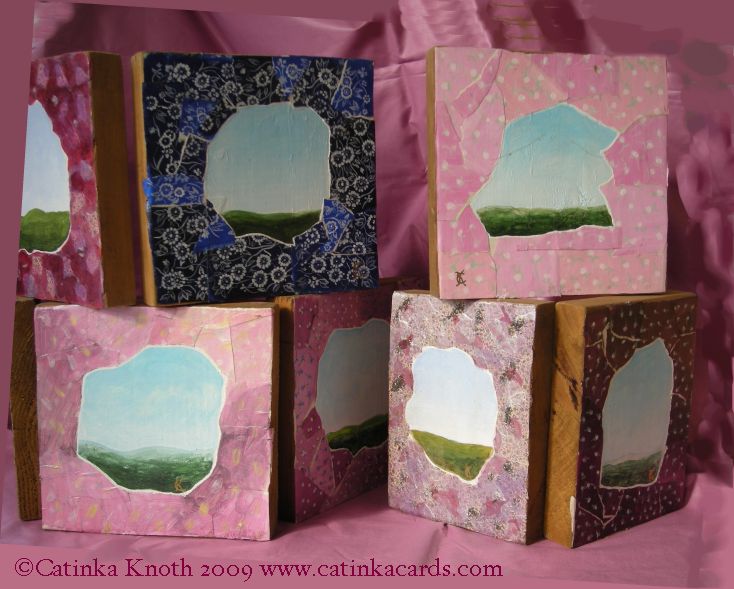
My series of fantasy landscape blocks will be in an exhibit of landscape art here at Lincoln Street Center in Rockland Maine for the month of December. The opening reception is December 5th, 3-6 pm. This group show takes place at the Jean Chalmers Gallery. You can read the article about the "XX" Landscapes at Lincoln Street Exhibit.
There is a story to these mixed media blocks, which I made back in 1985? I used to live by the entrance to the Holland Tunnel in New York City. One year they were re-landscaping it. I salvaged these blocks, ends of 2 x 8 planking that had been used to build something in the new design. I was always on the lookout for pieces of wood suitable to paint my fantasy landscapes on - like the old tempera paintings from Medieval times. Painting landscapes inside of broken crockery or small boxes was another format for my art. My favorite blue calico earthenware china, being earthenware, was subsceptible to easy breakage by playful cats. When a mug broke just in half, it seemed a good fit for a landscape inside, like a peephole Easter egg. Another version was a miniature paper mache window/box painted in the blue calico pattern.
There were also fantasy landscapes on canvas in mixed media collages using gift wrap paper of Medieval patterns. The blocks range from collages of these gift wraps, to papers I hand painted first in the blue calico, then in simpler calico floral patterns of my own designs. I wanted to create the effect of looking through a hole of the broken edges of china into another world. It's also a bit like looking through curtains.
At the entrance to most tunnels we cannot see the light at the end. We will only enter that tunnel if we have faith somewhere that there is a light at the end of it, or that we can find our way back out where we came from. And certainly only children might believe that we can dig a tunnel through the earth to China. And yet....
Would you like to see cards of these blocks?
You can see a collection of Blue Calico China from England at Amazon.
![]()
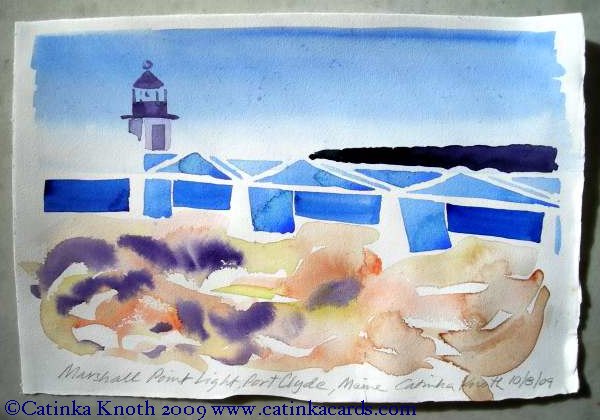
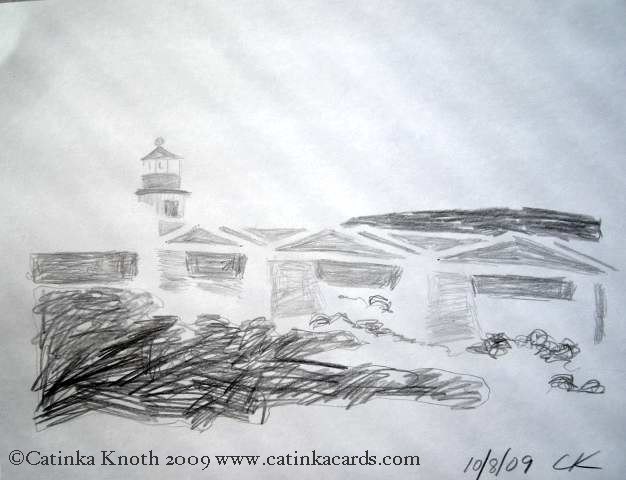
These demonstration drawing and watercolor painting samples of Marshall Point Lighthouse were done with a family of four in October. The parents and their two kids followed along with me in painting their own versions of these images.
Beginning Steps for "How to Draw and Paint a Maine Lighthouse"
We start with the tonal drawing using a black and white photograph for reference. The object is
a)to get familiar with the shapes so that when we paint we have a map in our mind of where to lay the paint.
b)practice seeing shapes as interconnected pieces rather than just outlines.
Painting the watercolor is done directly - no underdrawing in this case!
a) We lay down a gradated wash for the sky.
b) We paint the brilliant blue sections of ocean as if they are a chain of blocks marching across the sheet. They also form parts of the tower and the bridge pylons.
c) We paint the shadows of the pylons with a slightly diluted blue (or artist's choice).
d) Also the shadow of the cylinder beneath the bridge.
e) We practice the turret of the tower. See how many objects you can relate the dark parts of the tower to. I won't tell just now. It's a good brainstorm and guessing game. When these shapes have been practiced with as few strokes as possible (on some practice paper), they get painted for real. Since we have not 'drawn' in the cylinder it is important the turret gets placed directly over the cylinder! We don't want too much of a leaning Tower of Pisa here. Sometimes I end up with a leaning tower because I'm demonstrating sideways and up in the air, so that people can see what I'm doing. You really should face your work head on or you'll get a skewed vision.
f) The walkway gets reduced to a pattern of triangles - like a necklace. Practice first. Note how the triangles are shorter on one side - the apex is not visually at the center of the triangle. That's because of the perspective of the walkway. Also note how the triangles get bigger and more elongated as they get closer to you. Perspective again.
That's all for now!
Learn more about this and other 'Paint a Maine Scene' watercolor workshops.
