Topic: Art
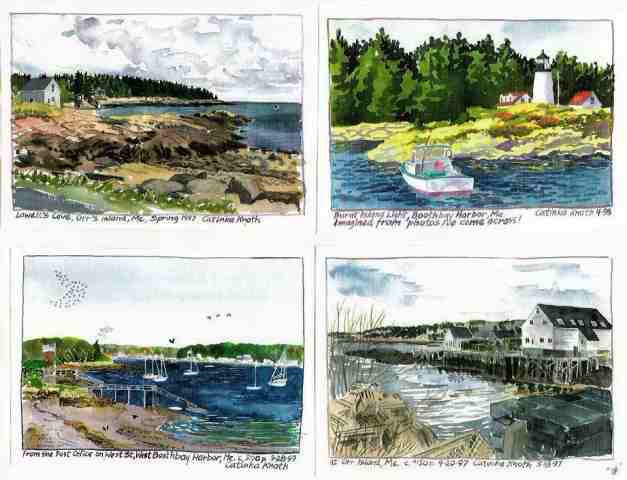
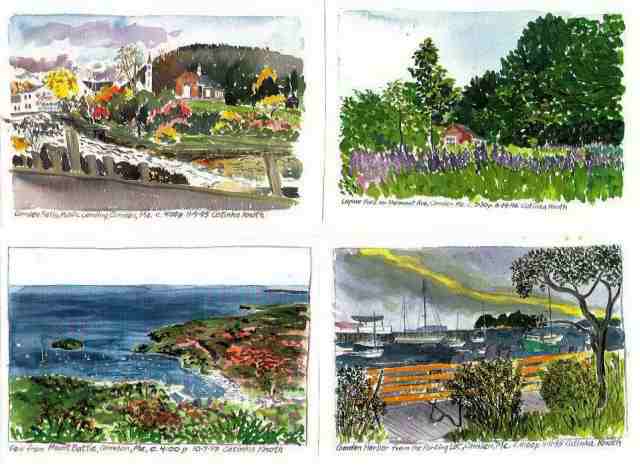
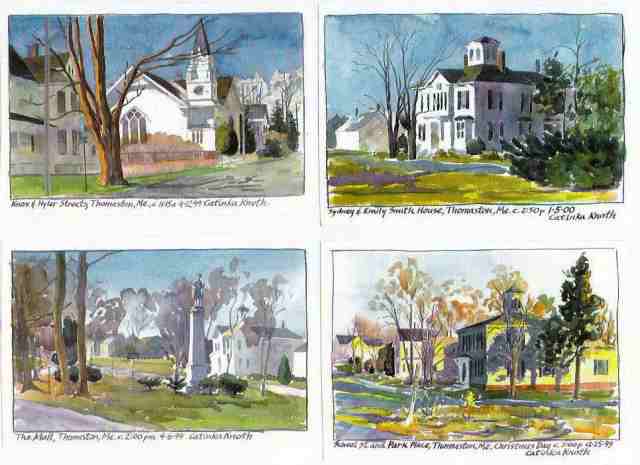
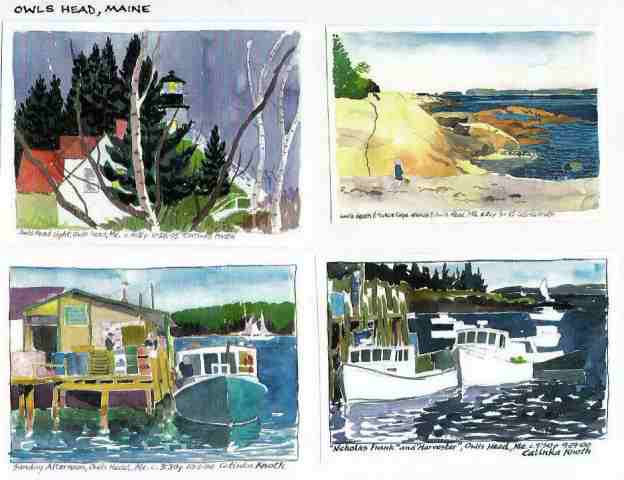
| Here are some of my watercolor paintings of Maine towns collections. Each group of four images is a set of four artcards (large 5"x7") or eight notecards (4.25"x5.5"). Most images are also available as larger prints. Click titles for larger view. See more Mid-coast Maine towns collections, (watercolors). | |
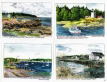 Boothbay Harbor to Orr's Island | 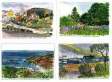 Camden |
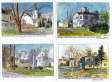 Thomaston II | 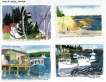 Owls Head, Harbor and Lighthouse |
Posted by Catinka Knoth
at 3:33 PM EDT
Updated: Saturday, 9 December 2006 4:43 PM EST


 T=measuring tablespoon
 Cocoa heaps higher than sugar does. I mean Heaping.
 Cream butter and sugar using a potato ricer/masher or wisk. Add cocoa. Cream further.
 Mix lightly with fork to mix dry stuff without incorporating it (yet) into the fatty mixture.


