Topic: Recipes
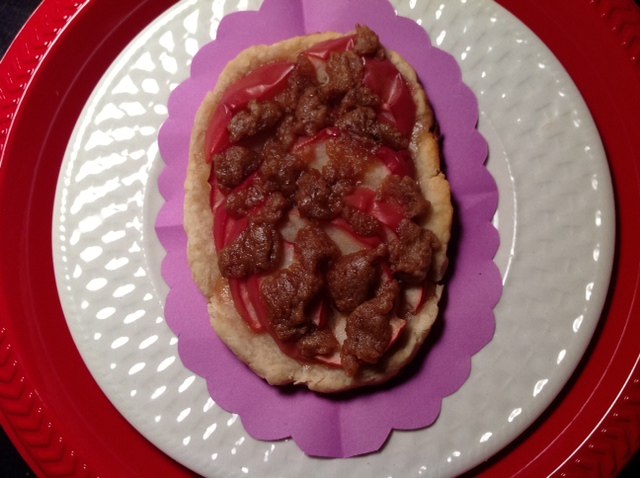 Apple tartlette for stovetop
a kind of pie crust but made with unheard of Extra Virgin Olive Oil (EVOO).
Preheat covered cast iron fry pan on stovetop while preparing the ‘cookie/tart’. What temp? Number 3 setting of the electric stove (the low side – as hot as can be with out getting the pan burning).
Mix together in small container:
3 very heaping cutlery teaspoons flour
pinch of salt
rounded cutlery teaspoon sugar
Add two splashes EVOO (c. 1 T.?)
Mix well with fork (so that oil is thoroughly distributed). Probably can use fingers after awhile, but I did not try that this time)
Add splashes of cider, or cold water, while mixing quickly as possible. This has to be done by feel. One has to develop a feel for how much one needs. One does not want to develop the gluten, so mixing must be quick but thorough. The liquid needs to be distributed at the start by how you pour it in. As soon as the dough starts pulling together form it together a bit more with your fingers and use it to grab up all the stuff on the sides of the container.
Shape this onto a piece of tin foil. I did not pregrease it but found it would have been better if I had. It can stick. Shape into whatever cookie or tart shape you want, about 1/8” – 3/16” thick. Create a lip all around the edge to hold in the juices.
Lay in ¼” slices of a macintosh apple, skin on is fine and lovely, in whatever arrangement you want.
Mix c. 1 ½ t. butter, 1 ½ t. dark brown sugar, 1 ½ t. flour, c. ¼ t. cinnamon – this should be like a soft cookie dough but not glopping or droppable. (t. = my approximations of standard measuring spoons)
Dot it over the apples.
Cover lightly and loosely with a little piece of tinfoil as a tent
Create a little tinfoil raiser for your baking sheet by folding a piece of tinfoil in half and z folding it. The little tinfoil baking sheet sits on top of this so that heat can circulate in the fry pan and act somewhat like a little oven.
So, set the ‘tart’ onto the foil ‘grate’ and with a spatula quickly slide it into the fry pan and put the cover back down. You can only raise that cover for a second or you will lose too much heat.
Let this ‘bake’ c. ½ hour. You cannot check too often because you will lose too much heat in the checking. After 15 minutes, the apples should be looking soft. The butter, sugar, flour mix did not mix with the apples as desired. It did not matter though. It is done when it seems to be! If the apples look cooked. The crust only burned where some apple juice leaked over the lip of the crust.
Remove from the heat and let sit tented while it cools.
The first half of the tart tasted pretty good once it cooled. The remainder went into the fridge wrapped in plastic wrap. It tasted odd the next day. On the second day it was delicious. So perhaps let this sit covered in the fridge a couple days before eating!
